Manual
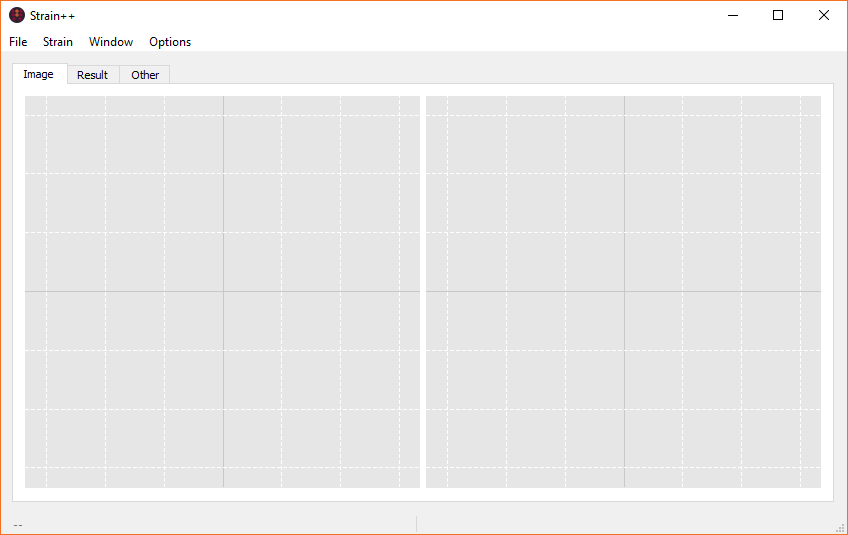
Figure Screenshot of the default Strain++ interface.
Above shows the window that will greet you upon opening Strain++. There is not much here yet so you should open an image. This can be done through the File menu or through the shortcut Ctrl+O. The supported file types are .dm3, .dm4 or .tif (non-RGB).
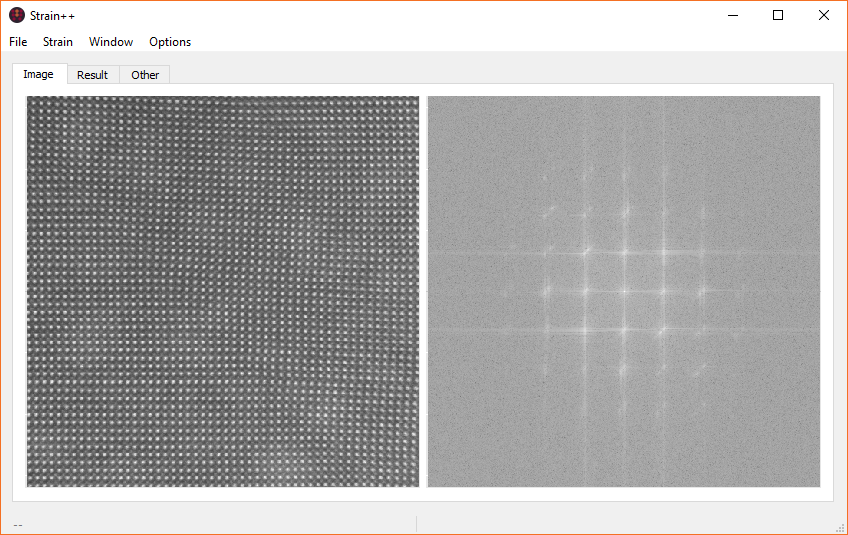
Figure After opening a file, the image is dispayed on the left and the FFT on the right.
Now you can see your image and its Fourier transform (FFT). Select the Strain → GPA menu to start measuring the strain in your image.
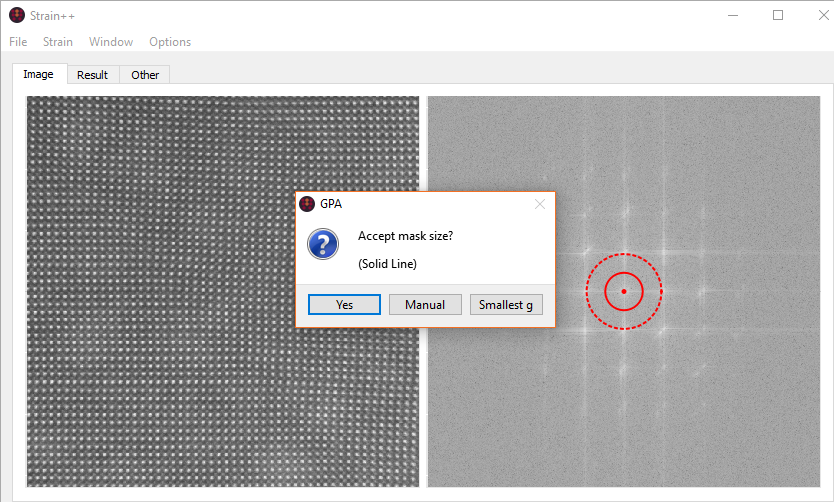
Figure Dialog to select mask mask size.
Strain++ now needs to know what mask size to use when masking off individual g-vectors. Here the dotted line is Strain++’s estimation of the smallest g-vector and the solid line is the mask size. If you do not like the calculated mask size, you can enter in a size manually or by choosing the smallest lattice vector on the FFT. Once you are happy, click yes to accept the mask size.
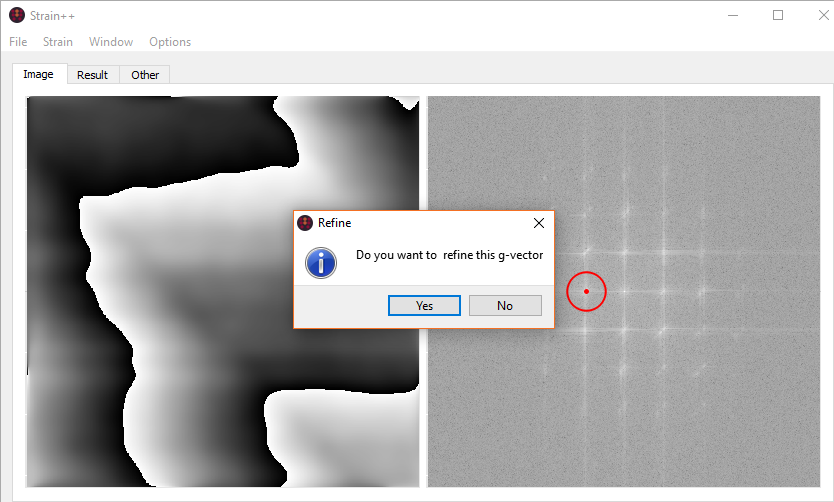
Figure Dialog to refine the g-vector.
You now need to click on the first g-vector you want to use in the analysis. The corresponding phase image will be shown in place of the image. If you want to refine the g-vector, select yes.
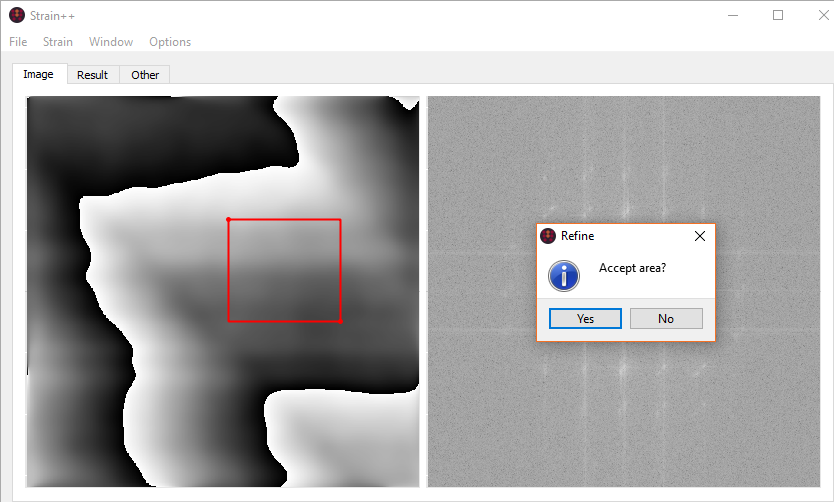
Figure Selecting an area to refine the phase with.
You need to select an area to refine from, click twice to define the two corners of the refinement area.
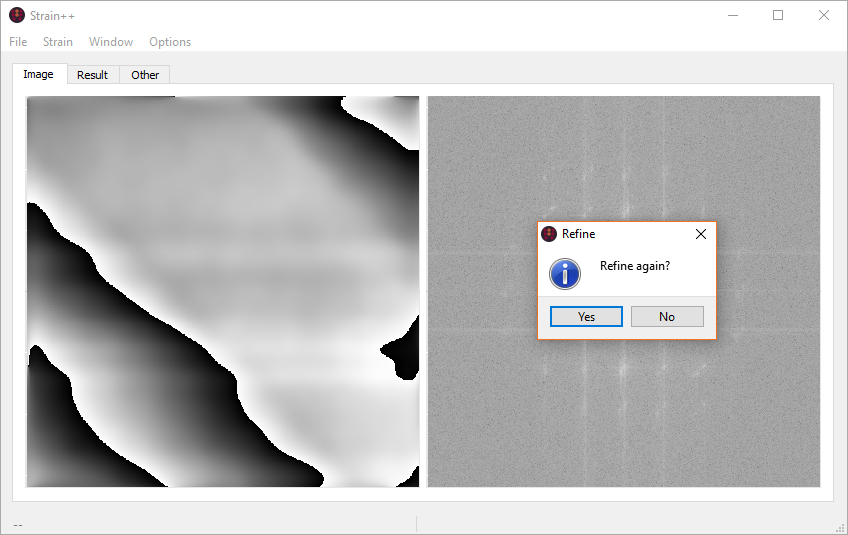
Figure Dialog confirming refinement.
You now have the option to refine again or continue to the next g-vector. The process for the second g-vector is exactly the same as the first.
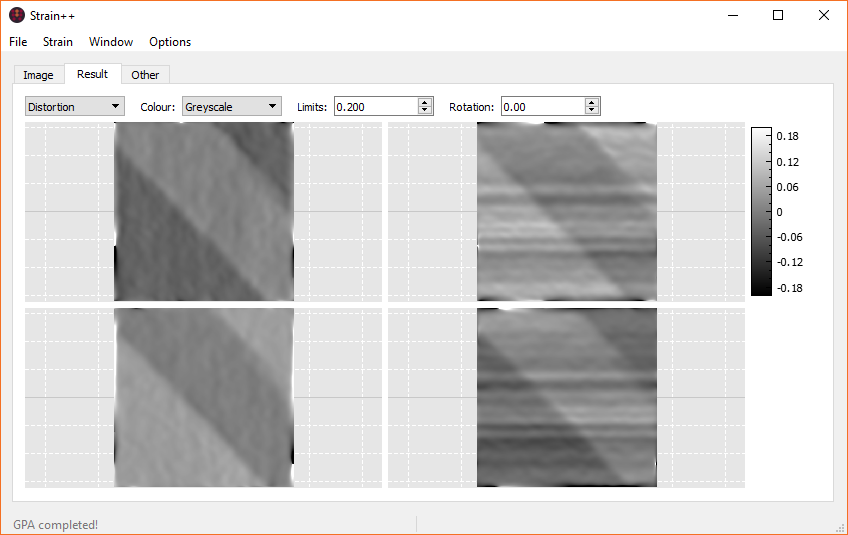
Figure Output distortions.
You will now be shown the output of the GPA. Here you can choose the exact output, basis rotation or select the colours. On the Other tab the intermediate steps can be displayed. Right clicking on an image will give options for exporting it, or data can be exported en masse from the File menu.